How to Make Tumbler Cups for Beginners
Decorating and personalizing a tumbler is a fun project. If you have some free time and love to get creative, you can use any of the three methods in our article and learn how to make tumbler cups at home. Get artsy with acrylic paints, make your world glitterier, or even learn a new skill like hydro dipping.

How to Make Tumbler Cups: Three Methods for Beginners
Crafty folks or DIY fans will love learning how to make tumbler cups anywhere. Things to consider before you start are:
- What type of tumbler to use
- How to protect surfaces in your home from glue or paint
- How to protect yourself from glitter and other crafting spills
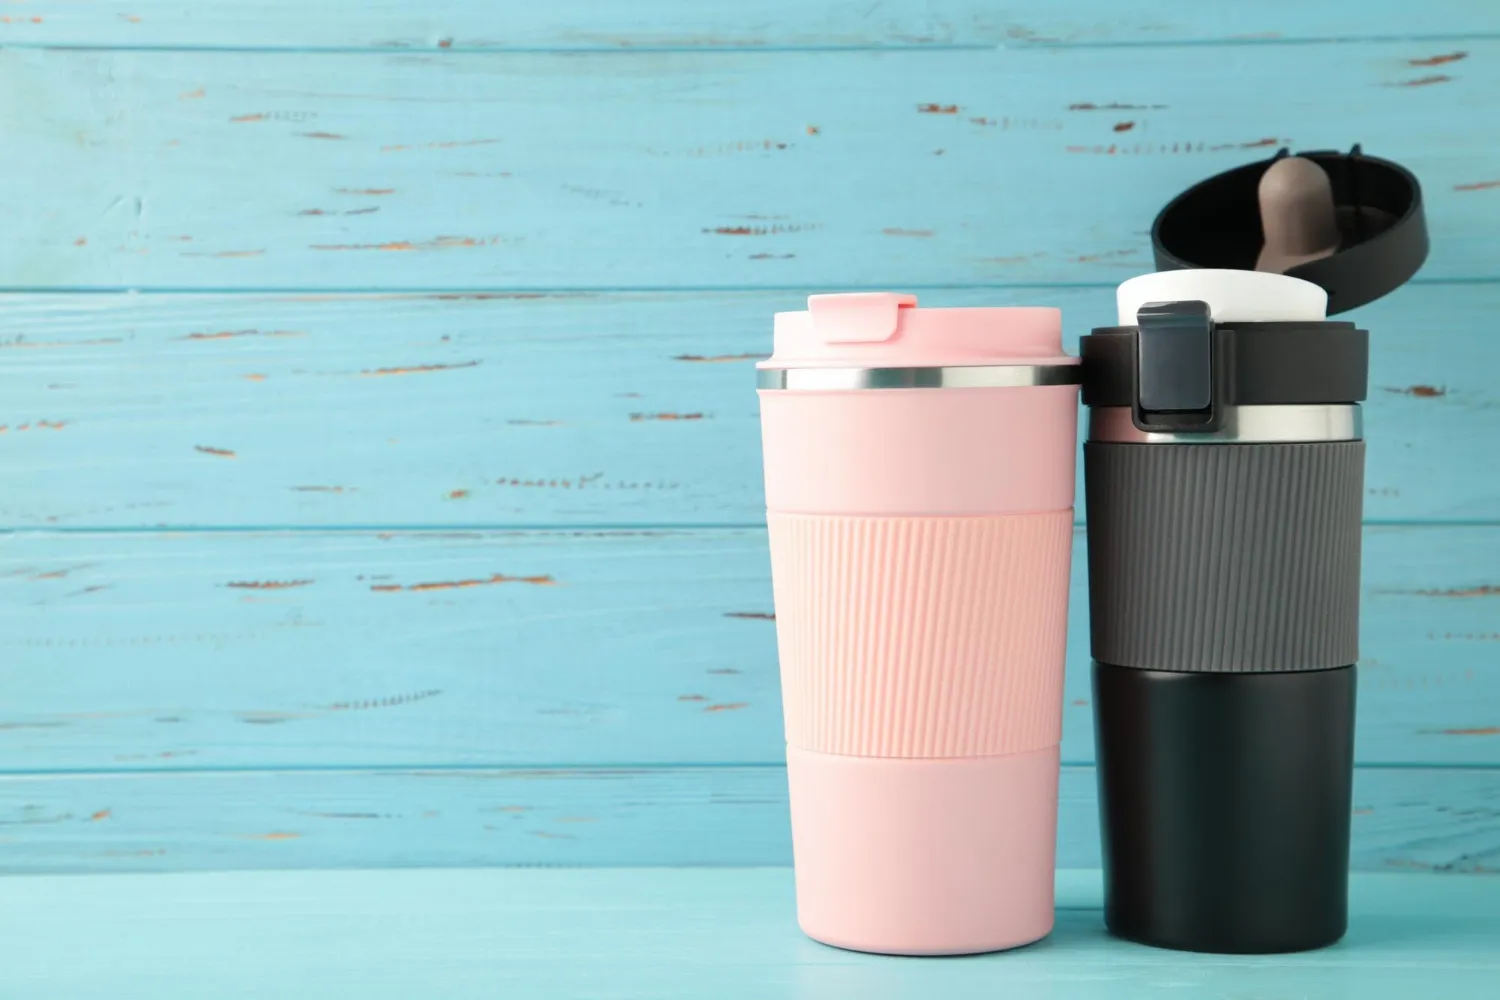
You can choose stainless steel or plastic tumblers for any of the methods highlighted, but resin adheres better to metal.

Do your crafting on a flat, level surface and move other items out of the way. Cover the surface with a waterproof sheet and have wipes or tissues on hand for spills.
Purchase and use some protective gloves. These are often latex but there are non-latex alternatives for those with allergies. Top tip: Try and get the non-powdered gloves as the fine powder can spoil your crafting efforts.
1. Hydro Dipping Your Tumblers
Hydro dipping sounds like a science-fiction-level skill. Indeed, it’s a method used in factories for coating car doors and other large areas. However, it’s super simple. It just means using water to transfer a layer of paint to a surface. For this method you’ll need:
- A plain tumbler
- Spray paint in several colors of your choice
- Face mask
- A bucket of water
- Popsicle sticks or similar for stirring paint
- Protective gloves
- Masking tape/electrical tape (optional)
Method:
- Choose one paint to be the base color for your tumbler. This is largely to act as a primer for the hydro dipping to attach to. Wear your facemask and choose a well-ventilated area, outside if possible, to spray the tumbler evenly all over. Note: If you want to keep the edge of the tumbler as it is so you don’t touch your lips to the paint, use tape to cover it before starting your project.
- Allow the paint to dry.
- Fill a bucket to about three inches from the top with water.
- Again, wear your mask and ensure good ventilation. Choose complementary colors, and spray paint directly onto the surface of the water. Spray one color at a time.
- Use the popsicle stick to gently swirl the colors. You don’t want to mix them, just to create some interesting patterns.
- Put your gloves on and hold your tumbler at the open edge. Slowly push the bottom of the tumbler into the paint, tipping it slightly to one side and then the other to ensure an even coat.
- You can revolve the tumbler carefully for more swirls and interesting effects.
- Slowly remove the tumbler and gently shake any excess water off.
- Leave upside down on a secure surface to dry.
It might take a few attempts to nail the even coverage, but even total beginner tumbler makers can get impressive results on their first go at hydro dipping.

2. The Acrylic Paint ÔÇ£Dirty PourÔÇØ
Knowing how to make tumbler cups means exploring various techniques. This method also results in swirly paint patterns like hydro dipping, but can be messier and, arguably, more fun. You will need:
- A plain tumbler
- Easy-pour acrylic paints in complementary or contrasting colors
- Clear epoxy resin
- A large tray
- Large, plastic disposable cups
- Popsicle sticks
- Water
Method:
- Stand the plain tumbler upside down in the tray. You don’t need to add a primer for this method. Top tip: place your tumbler on a spray can to lift the rim away from the tray and allow the paint to run off.
- Choose your colors and put a little of each in separate plastic cups.
- If the paint seems overly thick, add a little water and mix well with a popsicle stick. You need a pouring consistency.
- Now it’s time to layer your paints. Pour a little of each color into a new cup. Keep doing this until you have multiple layers of different colors.
- Pour the layered paint over the tumbler. The paint falls and swirls down the sides of the tumbler. Check every part of the cup is covered.
- Leave to dry — this may take a couple of hours.
- Evenly coat the tumbler with epoxy resin and leave to dry for at least 6 hours.
That’s it! The resin will protect your acrylic paint from chips and wear. You can also use this technique on hydro-dipped tumblers.

3. Glitter Tumblers
One of the most popular results when searching “how to make tumbler cups” is the glitter tumbler. You can combine this method with any of the painting methods or apply it directly to a plain or colored tumbler. Simply mix glitter into epoxy resin and evenly coat the tumbler. A tumbler turning machine can help ensure an even layer. You can also add a thin layer of resin, press glitter directly into the resin, then add a final coat to seal this glitter. This is ideal for ombre or other striking effects.
Always leave resin to dry or “cure” completely. When you gain confidence using these materials, you may want to use a heat gun to ensure an even layer and remove any bubbles that can form in the resin.
How to Make Tumbler Cups for Beginners: The Simple Alternative
If you don’t have the time for lengthy crafting projects, or you aren’t the artsy type, there’s another way. Order completely customized tumblers from Custom Cups Now. You choose the color, image, and style, and you get exactly what you want with complete convenience. Order your cups online or call us at 1-833-217-1898 to chat.