How to Make Tumblers for Beginners ÔÇô Step by Step
While a tumbler is an excellent accessory to take with you and stay hydrated, regular stainless steel or monochrome plastic tumblers are dull. Fortunately, there are plenty of customization options for personalizing a tumbler. You can create custom designs to pair with your apparel, give out as unique gifts, or even start a small business once you develop your skills.
But you’ll have to start somewhere. Here’s how to make tumblers step by step if you have minimal experience in DIY craft.
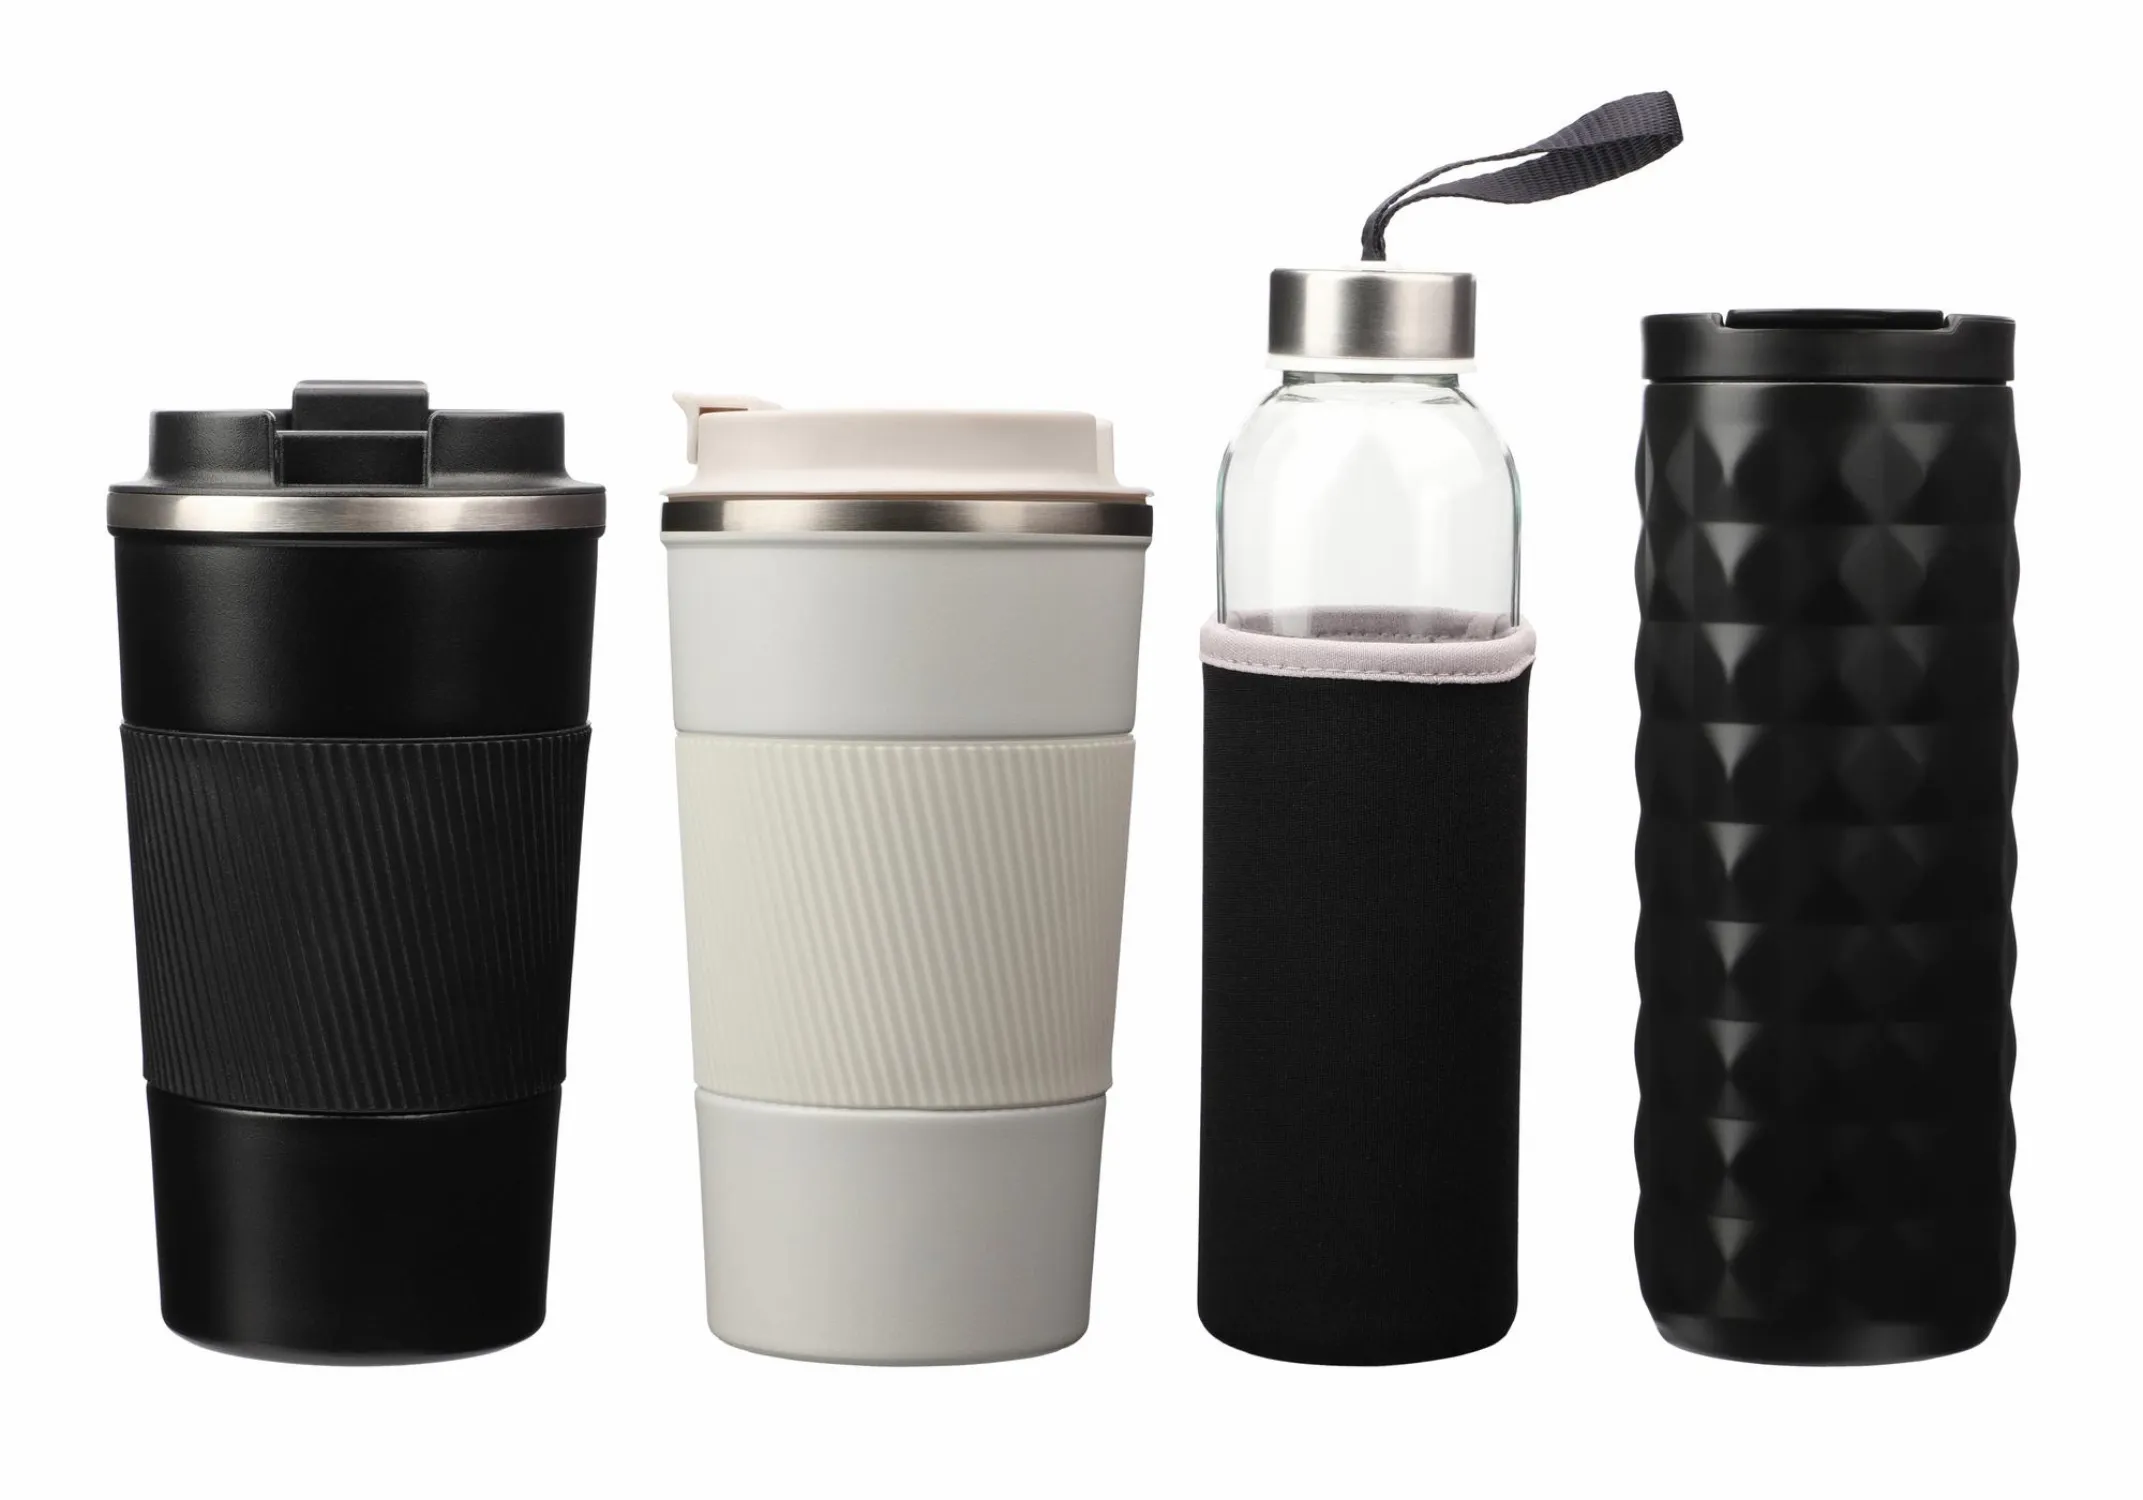
Step 1 - Gather Supplies
Preparation is key in the craft world. If you miss a crucial step or fail to account for how many ingredients you need, you might have to start from scratch and waste money, time, and supplies.
If you’re starting out, it’s best to use stainless steel tumblers as the base. They’re sturdy by themselves, don’t require a lot of handywork, and you can do pretty much every bit of customization with them.
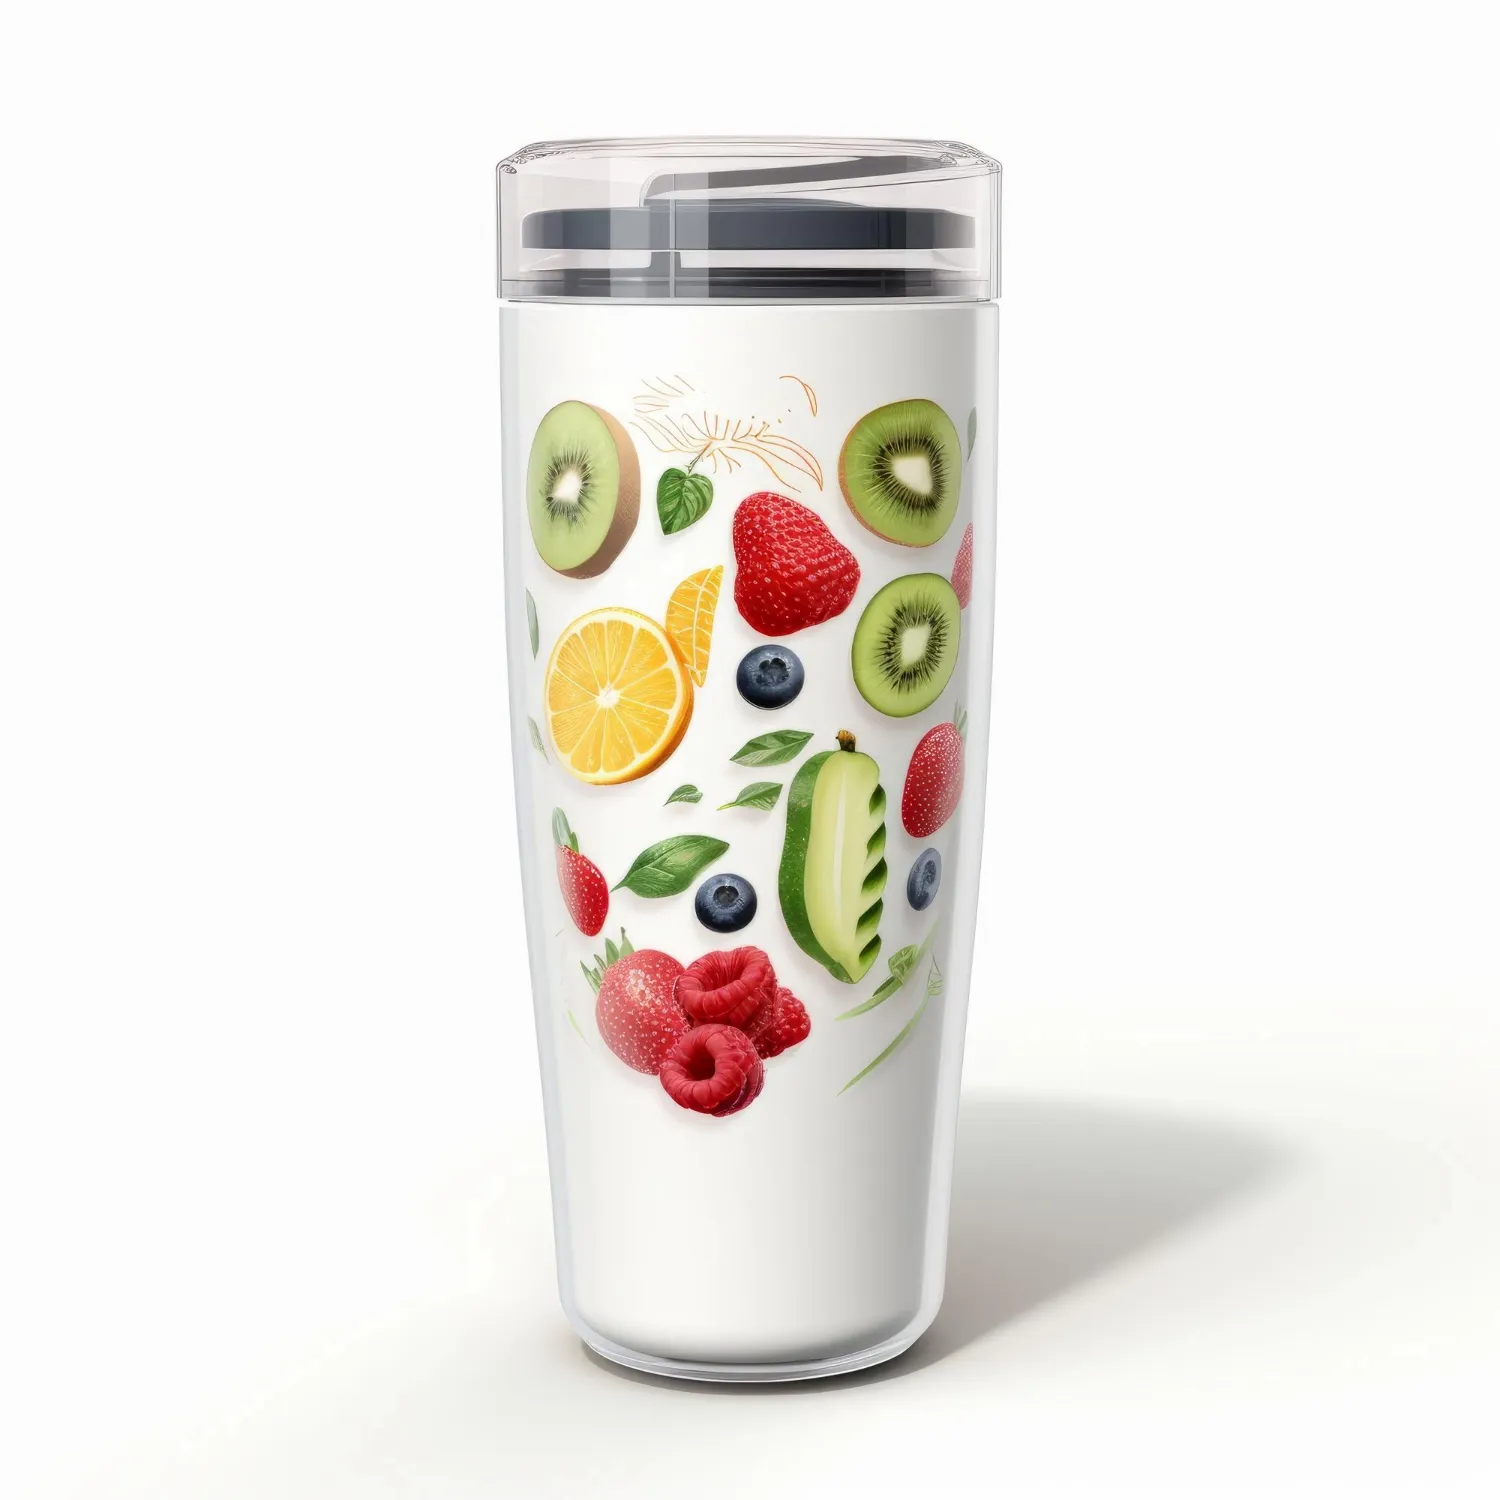
Here’s what you’ll need:
- Stainless steel tumblers – You can purchase them in bulk on Amazon, a dedicated online hobby store, or even in larger local supply stores.
- Sandpaper or liquid stripper – Sandpaper is the safer option. Buy multiple grit levels (the higher the grit, the finer the sanding). It’s also more useful for finishing.
- Epoxy resin – You can buy epoxy sets from Amazon. Look for epoxy with longer curing times, since it will give you more time to work.
- Bottles, measuring cups, and popsicle sticks – Some epoxy kits don’t come with measuring cups and applicators, so you may need these. You can use plastic measuring cups or single-use medicine cups.
- Spray paint or acrylic paints – Acrylics are less messy but require more work and you may need to sand it down if you use a thick coat.
- Popsicle sticks, paintbrushes, and toothpicks – For finer designs.
- Heat gun – This is the best way to remove air bubbles from resin and will come in handy for other protects.
- Protective nylon sheets and cardboard
- Painter’s masking tape – Use a thinner tape since you may need to cover the tumbler to protect areas from paint.
- Gloves and respirator mask – Every epoxy and spray paint brand recommends using protective gear while handling these.
- Cup turner – You can buy a motorized turner online that fits one tumbler or order an assembly kit that can hold multiple tumblers simultaneously.
- Paper towels and rags.
- Alcohol (not the drinking kind).
- Polishing compound and an air polishing kit – This is optional but can be useful if you apply too much resin.

For additional customizations, you’ll need the following:
- Cricut machine and vinyl paper – A Cricut is perhaps the single costliest investment, but it is indispensable for any serious crafter.
- Glitter, Mod Podge, and clear spray paint.
- Alcohol ink and applicator.
- Epoxy paints – These are paints that can be mixed with epoxy resin to create pigmented resin.
Wear some old clothes you don’t mind getting dirty or ruined. Work in a well-insulated, low-humidity environment.
Step 2 - Sand the Tumbler
Stainless steel tumblers have a protective coating that repels water. However, it also makes paint stick much less and is nearly impossible to apply. That’s why the first thing you need to do is sand the entire tumbler down.
Before that, disassemble the tumbler to remove additional protective pieces and mouthparts. Work only on the tumbler’s main body.
Use fine sandpaper to avoid removing too much at once. Work in small circular motions until the tumbler becomes duller so you know you removed the top protective layer.
Once you’re done, clean the tumbler with an alcohol-soaked rag to remove any residue. Remember not to use water since the protective layer is now gone.
Step 3 - Paint the First Coat
For the undercoat, you can use spray paints, glitter epoxy, or acrylic.
You can use painter’s tape to section out parts of the tumbler you don’t want to paint over or create sharper lines with spray paint.
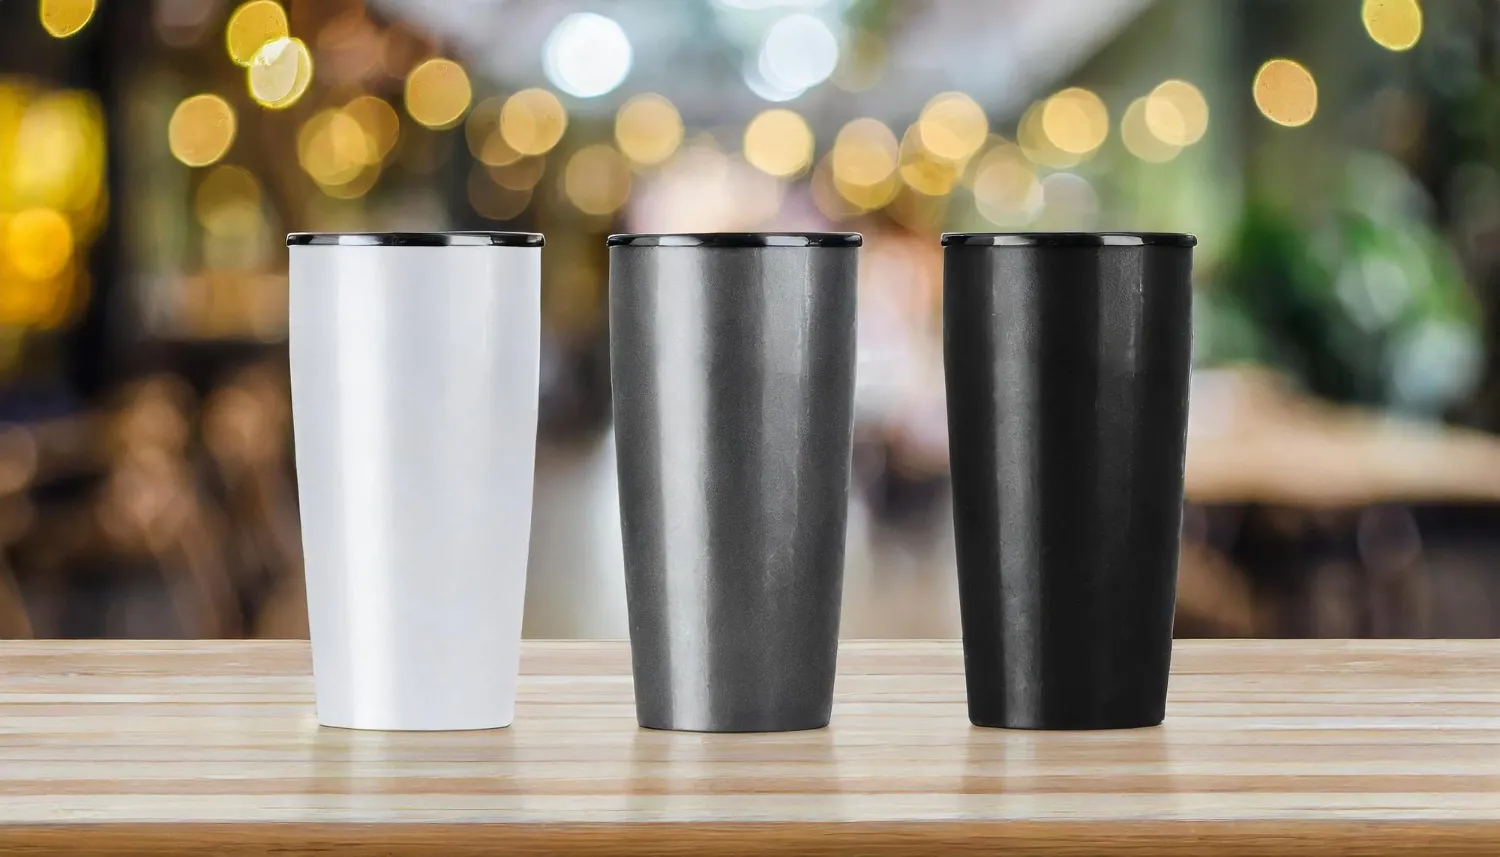
When working with spray paint, wear protective gear and use protective nylon and cardboard. It’s best to work outside on a sunny day since there’s less of a chance to get paint over furniture. Apply spray paint from 6-8 inches away.
As mentioned, acrylic allows you to create more solid and vibrant designs and it can be a better choice if you’ve previously used it. You can use slightly thicker coats and sand them down later if needed. You’re applying epoxy over it anyway, which will provide uniform thickness.
Make sure to read the paint instructions to ensure it dries before proceeding.
Step 4 - Apply Additional Designs (Optional)
This is where you can use the glitter, vinyl, and alcohol inks (in that order) to create even more personalization.
Glitter can be applied with Mod Podge, layering the glitter until you get the desired results. You can put the tumbler on a turner to ensure you cover it evenly, then wait for it to cure. You can also put glitter in the final epoxy resin layer, but this will cover the designs you created with stencils or paints.
In general, a Cricut machine requires some knowledge of graphic design since it works directly with PC apps to cut out pieces of vinyl that you apply. However, once you get the hang of it, it’s the best way to create elaborate graphics that you can replicate quickly and customize your tumbler with lettering. Follow the vinyl manufacturer’s recommendations on setting times.
Finally, you can use alcohol inks and stencils to free-hand a design onto the painted cup.
Step 5 - Sealing the Tumbler
The final step is to seal the tumbler in epoxy. This ensures the tumbler’s surface is even and protected from water.
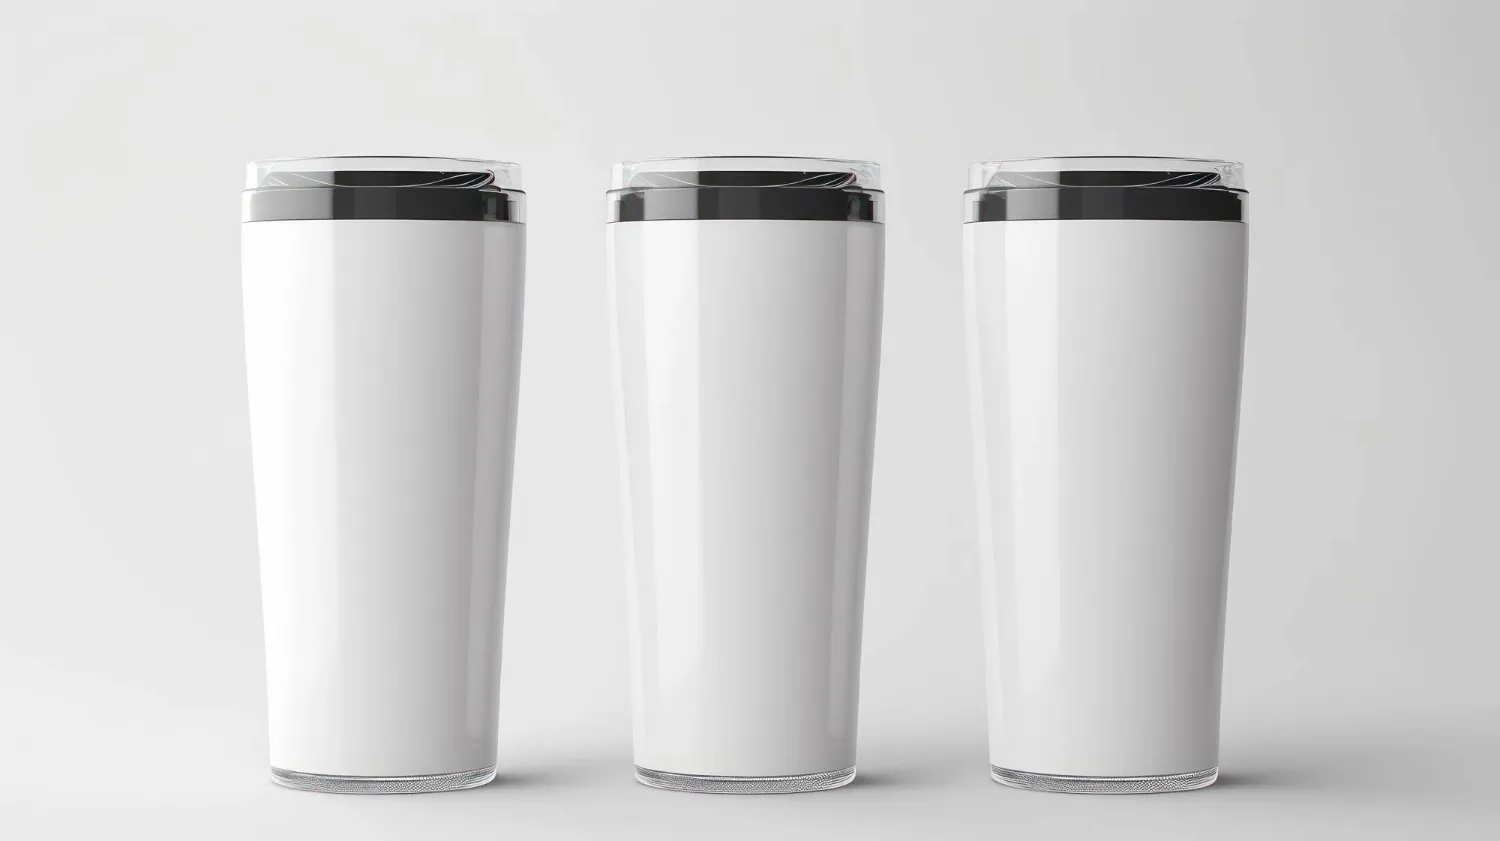
If you just need to seal the tumbler, use clear epoxy kits and follow the mixing instructions. You will need about an ounce of epoxy for a single tumbler. However, you can also paint the epoxy and even create multiple epoxy batches, each with a different pigment. When mixing and applying epoxy, wear gloves and a respirator mask.
If you didn’t put the tumbler on the turner, now’s the time. Use the appropriate foam size so the tumbler fits snugly and make sure it’s centered. Otherwise, it will wobble as it turns, which can create uneven patches of epoxy while it dries.
You can apply epoxy by pouring it on slowly and spreading it around by hand. Alternatively, you can brush the epoxy on, but you may need to use a dedicated brush for that since it will become unusable if you don’t have an epoxy remover to clean it afterward.
As mentioned, you can use epoxy more creatively to blend it with glitter or create a marbling effect or stencil designs. You can apply different pigments and swirl them around with a finger, popsicle stick, small brush, or even a toothpick. The possibilities are practically endless, but pay attention to how opaque your pigmented epoxy is as it may cover the underlying color and designs.
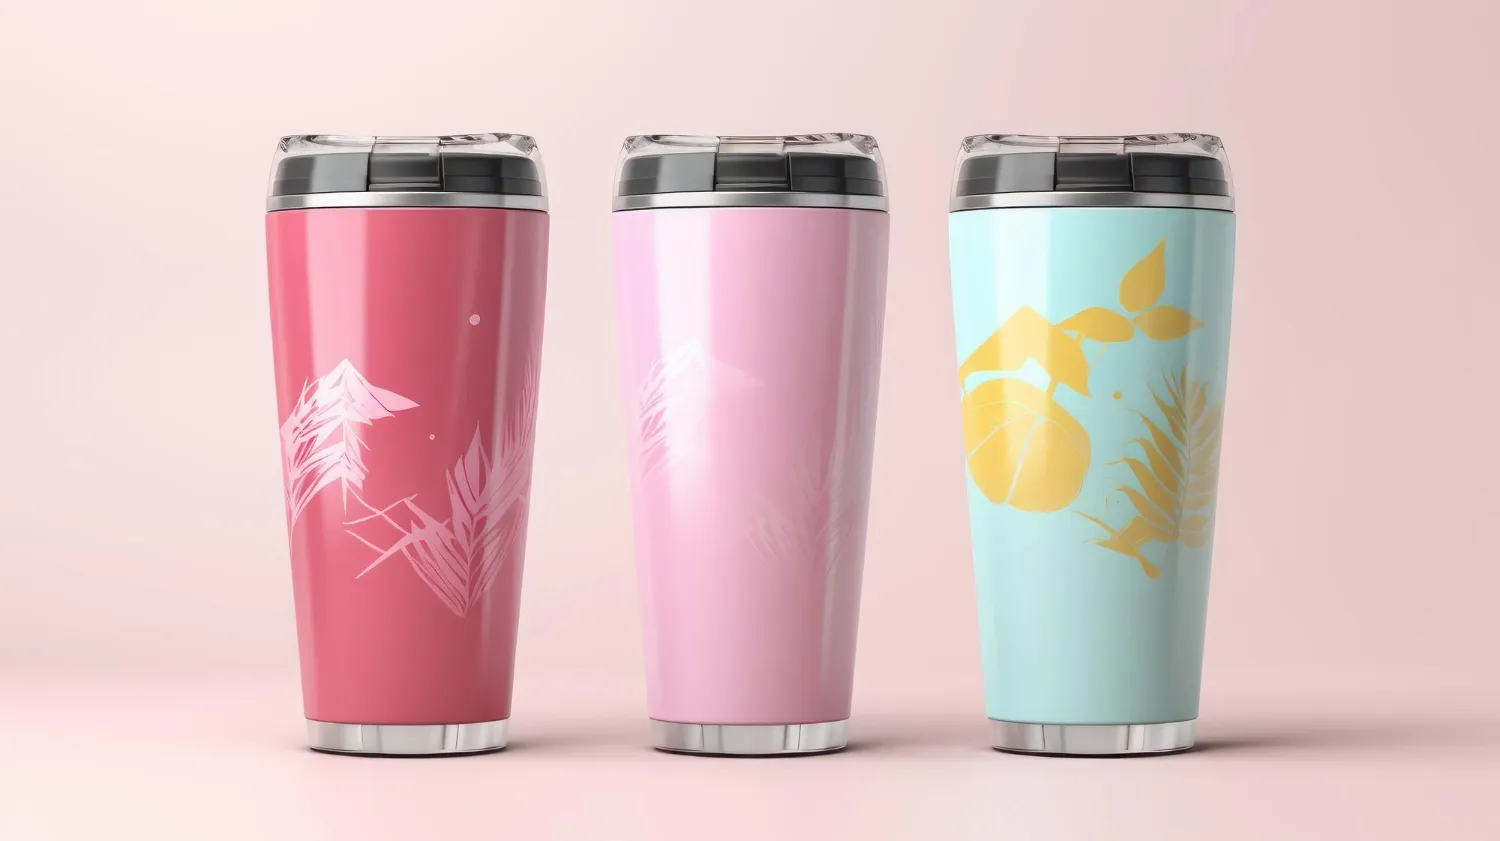
Step 6 - Finishing
Once the epoxy is layered on, remove any air bubbles with a heat gun. Then, leave it on the turner to dry (keep the turner on) and periodically check for bubbles to remove them if needed.
If you put on a thicker layer of epoxy, you can sand it down and then buff it out with the buffing kit and some polish.
A Simpler Way to DIY
As you can see in this how to make tumblers guide, each phase of the process is relatively straightforward. However, if you want better designs, you will need to buy dedicated hobby and craft gear, which can cost a lot of money and require a decent chunk of your time to master.
If you want to get a customized tumbler without a hassle, check out Custom Cups Now. You can order your customized tumblers in bulk with various materials and colors, as well as upload a design to use.